


Chips - Epoxy Flake 1/4"
40lb box of 1/4" epoxy flakes.
✨ Epoxy Flakes
Transform ordinary concrete into a durable, designer surface with our Epoxy Flake Flooring System. Engineered for both aesthetics and performance, this multi-layered coating combines high-strength epoxy with vibrant vinyl flakes to deliver a seamless, terrazzo-like finish that’s built to last.
🌈 Features & Benefits
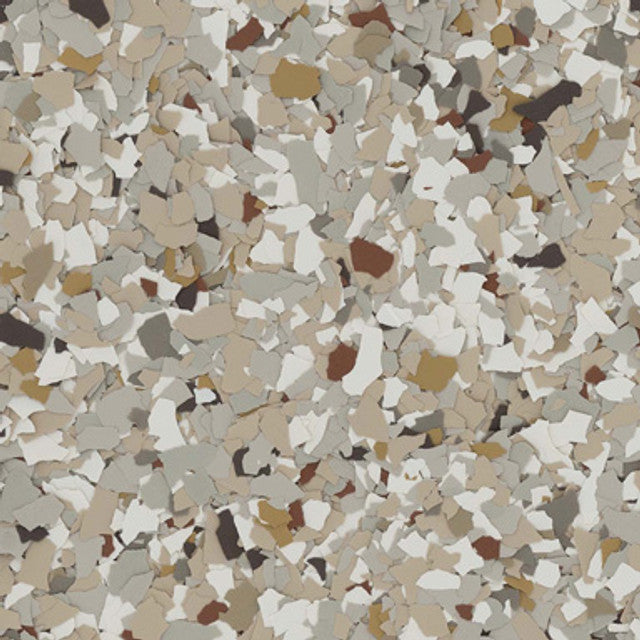
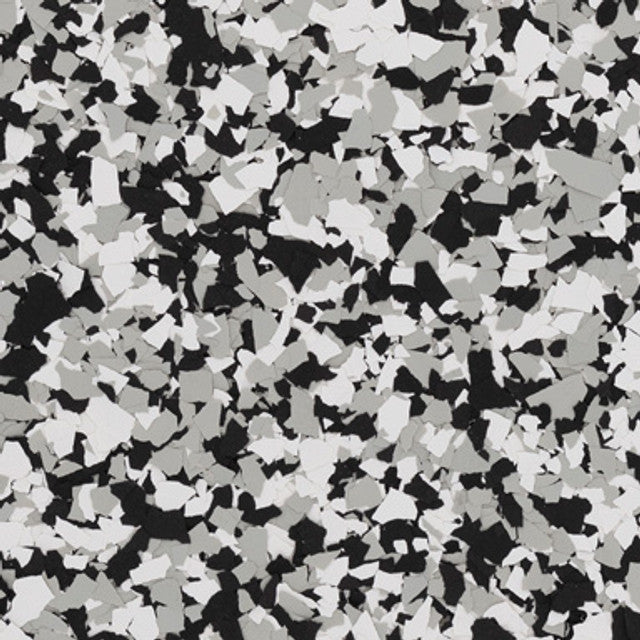
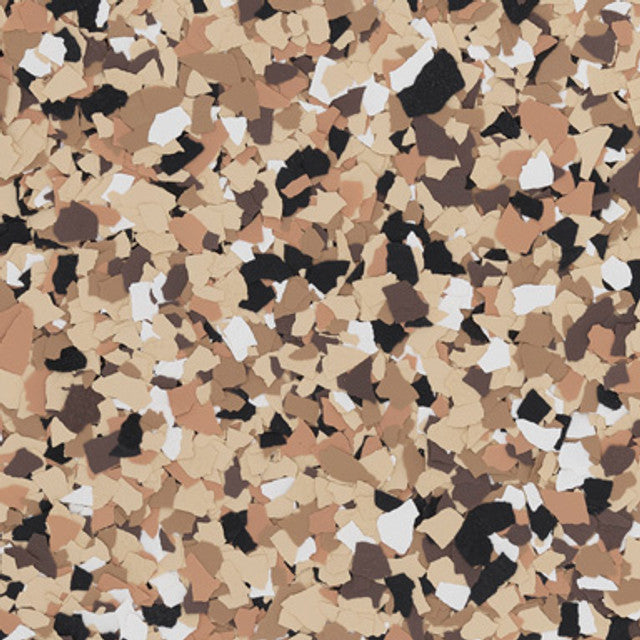
- Decorative Appeal: Available in a wide range of colors and flake sizes to match any space—from sleek modern to rugged industrial.
- Slip Resistance: Textured surface enhances traction, making it ideal for garages, workshops, and commercial spaces.
- Durability: Resists chemicals, abrasions, and UV exposure for long-lasting beauty and protection.
- Easy Maintenance: Non-porous finish repels dirt and moisture, simplifying cleanup.
- Customizable Coverage: Choose from light to full broadcast for the perfect balance of texture and coverage.
🛠️ Applications
- Residential garages
- Retail showrooms
- Warehouses
- Medical and educational facilities
- Restaurants and commercial kitchens
📦 Specs
- Flake sizes: 1/4"
- Coverage: Approx. 250–360 sq ft per 40 lb box (full broadcast)
- Compatible with epoxy and polyaspartic,
When an “Epoxy Chip” floor is desired there are multiple methods to apply product.
Some of the design factors to consider before application is color of pigment in the epoxy and chip color.
Technique 1: (1-2 person team)
Roll or squeegee the epoxy across the width of the job and approximately 5’ deep. Then broadcast the epoxy chips onto the wet epoxy approximately 4’deep. This will allow you to roll the next section of epoxy into the first area without picking up chips on your roller cover. Continue to repeat this process until complete coverage is obtained
Technique 2: (3-5 person team)
Coat the entire surface to be treated with the desired color of epoxy. Wearing epoxy spikes or golf spikes, walk carefully onto the floor and broadcast the entire surface with epoxy chips.
Final Coat:
After the epoxy has become tack free (typically 6-10 hours) a coat of clear Inside Epoxy should be applied to the top surface in order to protect the epoxy chips. If additional protection is desired, a top coat of Inside Urethane may be applied over the Inside Epoxy (allow 12 hours of cure time and mechanically abrade the Inside Epoxy prior to the Inside Urethane application).
Tips
Spikes:
Wearing spikes (epoxy spikes or golf shoes) will allow you to walk out over the epoxy to broadcast chips or fix any issues. ***WARNING*** Walking on wet epoxy with spikes is like walking on ice. Move slowly and carefully.
Broadcasting Chips:
Prior to your first job practice broadcasting chips onto “dry” concrete to test your technique. It is best to throw a small handful of chips up into the air and let them scatter as they fall down. This technique helps to avoid “clumps” of chips on the floor.
Choose options